
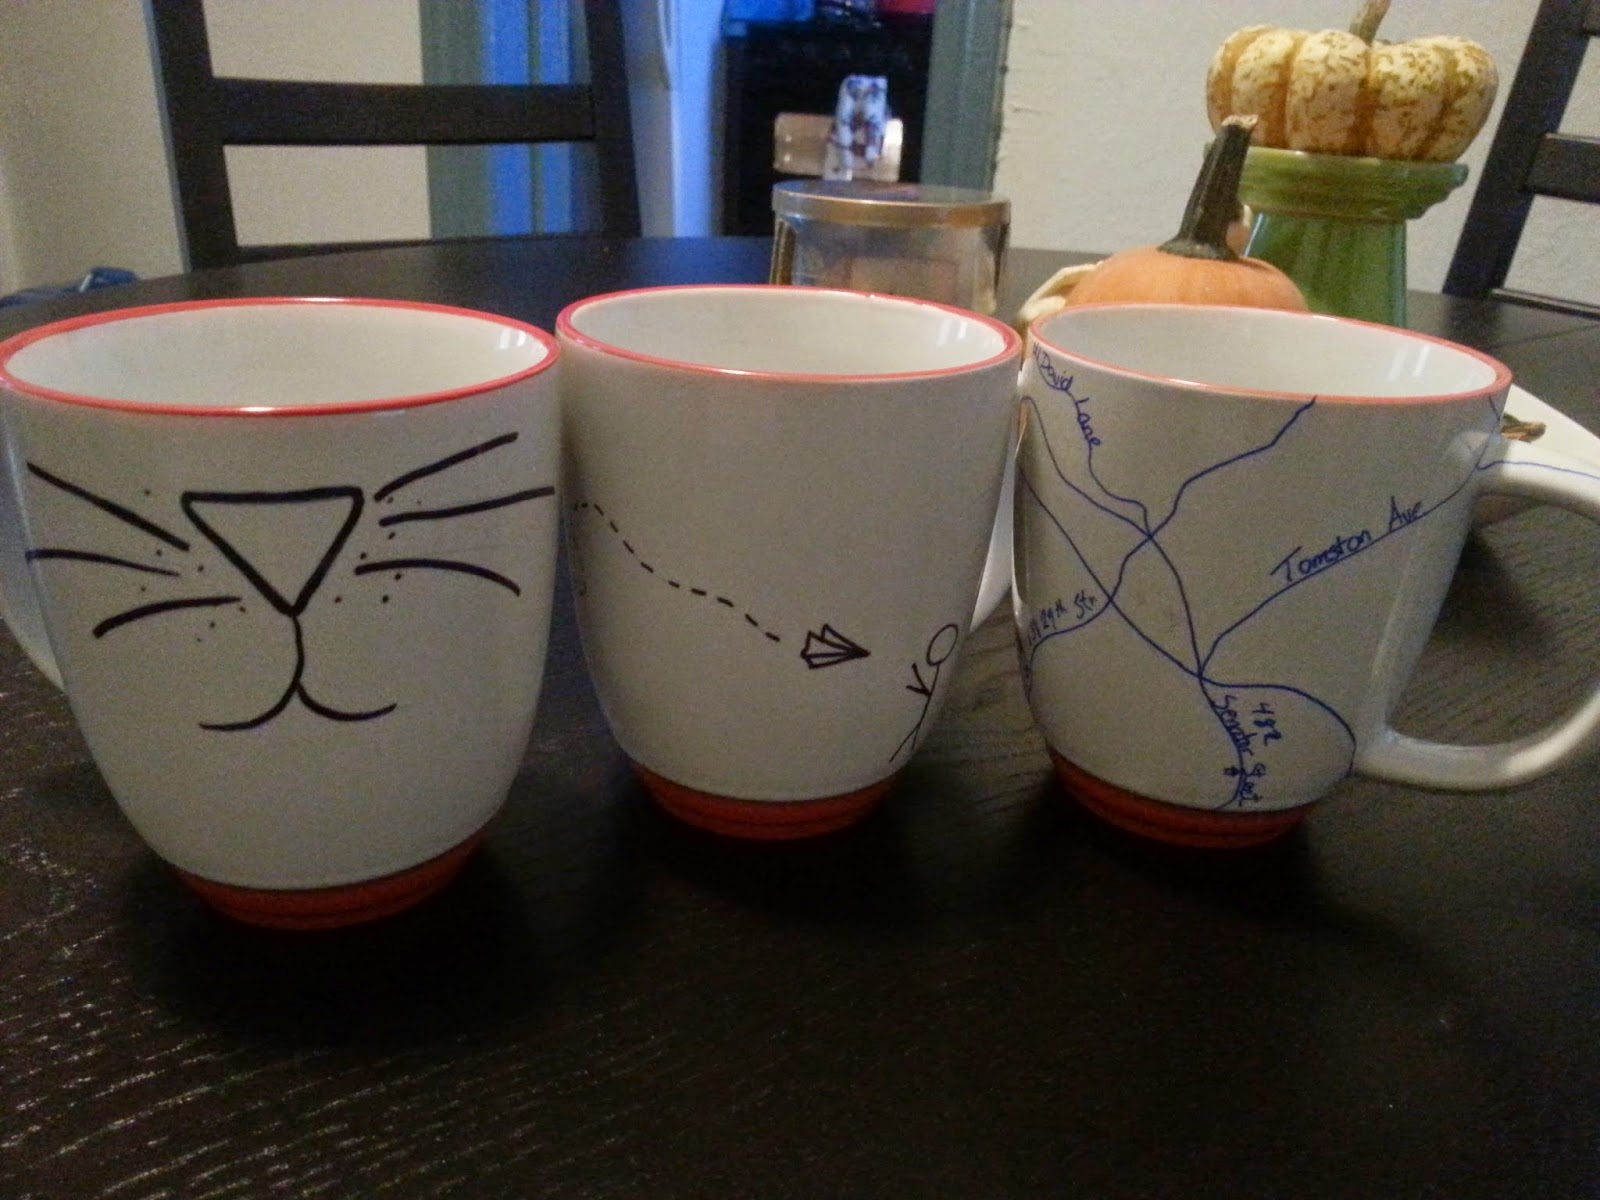
And they all did this:

So tell me...
Have you made these mugs and had them remain intact?
Have you fallen off the Blogtober bandwagon (ahem, like me) yet?
----------------------------------------------------------------
It's about that time again! Six months ago I wrote from A-Z, a different letter every day in April (except Sundays). This time around I'm going to write a post every day in October, hence Blogtober. Clever, huh?

If it's any consolation your artwork was cute and would have looked great had it worked.That would have been where I would have given up on the project ;). I wonder if it has to be a certain type of mug..or a glaze or something? Props for trying and Happy Monday!
ReplyDeleteHaha, well thank you :) Maybe I should've sprung for some ceramic mugs, I just got some cheapo mugs for 99cents.
DeleteI used the same method when I made mugs last year. The only thing I can think of is the type of mug you used. Maybe this project needs to be made with a certain type of mug? Mine were white stone mugs and it worked fine.
ReplyDeleteHm. I might have to go find some, and make sure they are stone instead. Hopefully I can get the rest of the marker off so they are just plain mugs versus splotchy mugs. Thanks for the suggestion!
Delete