
When I was little, I loved laying in my 'fort' under the dining room table. I would sit there, in the sun and smell the bread that was rising on top of the table. Now as an adult, I would occasionally get those fond memories of baked bread, especially whenever walking past the bread factory in our neighborhood. Jump forward to just this last November, when I called my mother to tell her my grand plans for baking my own bread from scratch. You know, just like she used to do.
She then burst my happy bubble right there, and told me it was actually store-bought freezer bread she just threw in a pan to bake. Turns out, that heavenly smell that I remember was because they were put on the table to cool after having been baked.
Of course, being the girl who has finally mastered the recipe for Ice Cubes, I was discouraged. If my mother who made everything from scratch never bothered with baking her own bread, how could I even try? I tried to forget about baking bread, but this last week I got restless and thought 'I can do this'. And I did it. This may be my greatest achievement to date.
 Ingredients:
3 cups white flour, additional as needed
1/4 cup Milk
5 tsp. Sugar
5 tsp. Butter
1 tsp Salt
Cooking Spray for loaf pan
1. Get a bowl, and mix 1 packet of Active Dry yeast with 1 cup of warm water. Stir it up well until it's no longer lumpy and looks like this:
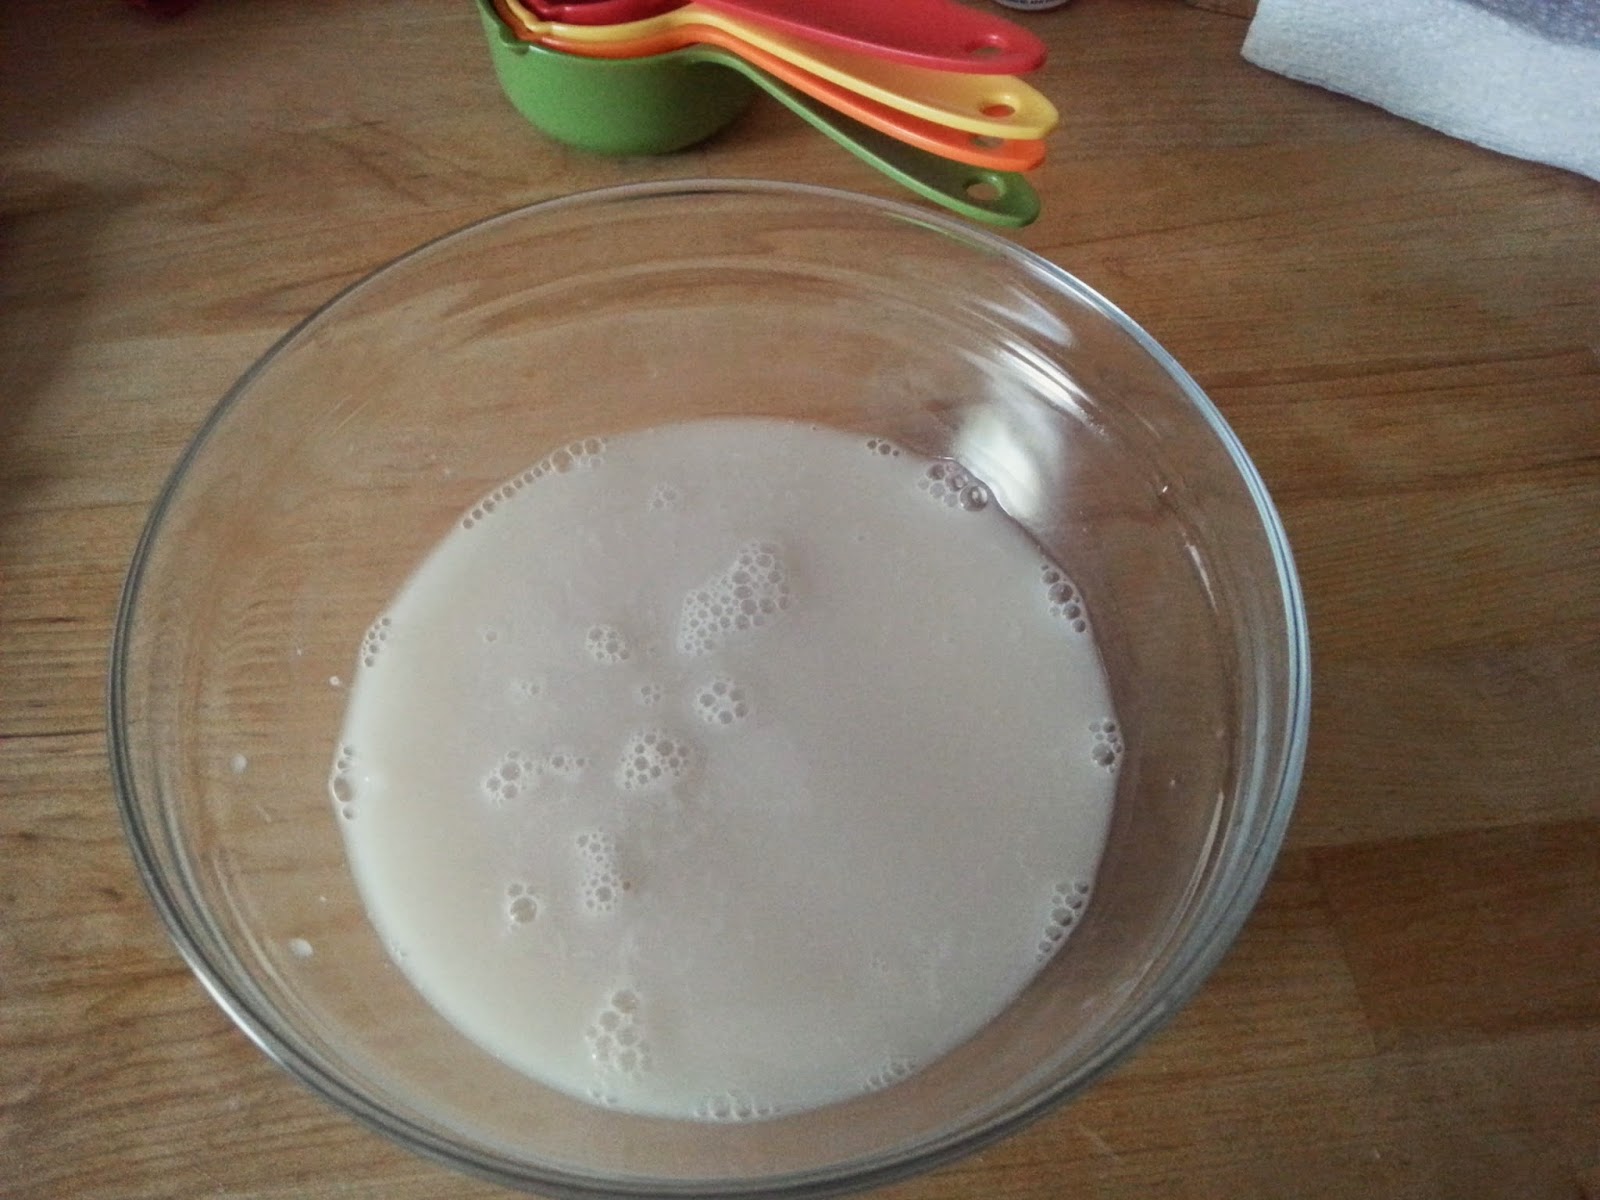 |
| Yeast + 1 cup water = A brown bubbly liquid. |
3. Continue to add your sugar, salt, milk and then (gradually) add flour to the yeast water.
4. Stir it up. It should look like the photo below.
---As you can see, I underestimated the size of bowl I would need. Get the bigger bowl the first time. It's better than more dishes.


7. When you come back, your dough should be somewhat larger. At this point I forgot to take some photos, but it's around 1.5 to 2 times it's original size. This is why you should get the large bowl from the beginning.
8. Flour your cutting board and poke your dough. It will shrink back down. Put it on the floured surface and start kneading it for around 10 minutes.
9. Spray your loaf pan with cooking spray.
10. Roll it into a 'log' shape, that fits inside your pan. Next time I'll be more careful to make the top smooth, since mine came out pretty lumpy because I just threw it in the pan.
11. Let it sit in that pan for another hour. It will grow more, and probably over the sides a bit. Cover with a towel.
12. Come back and back it. I baked the bread at 400 degrees for 30 minutes exactly. It came out easily, I just flipped the pan and the loaf slid out onto the cooling rack.
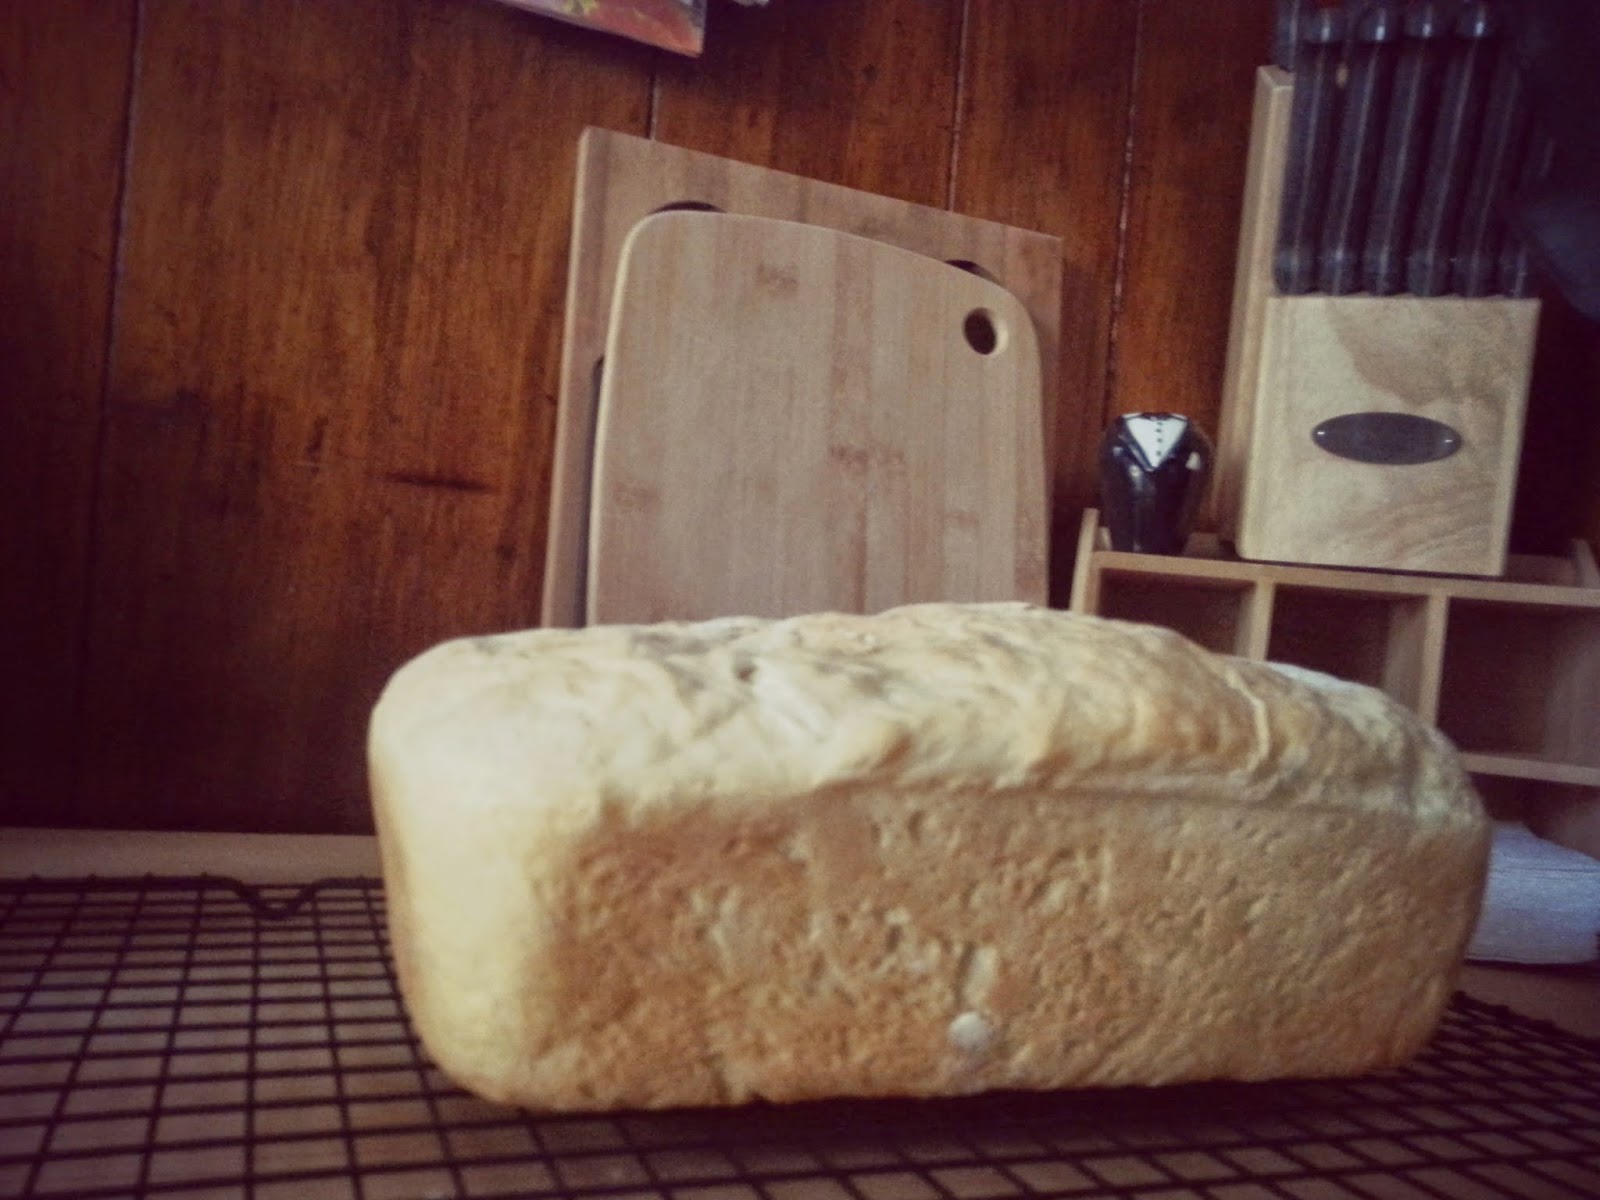 |
| I was thrilled. It came out perfect! |
13. Slice. Enjoy!
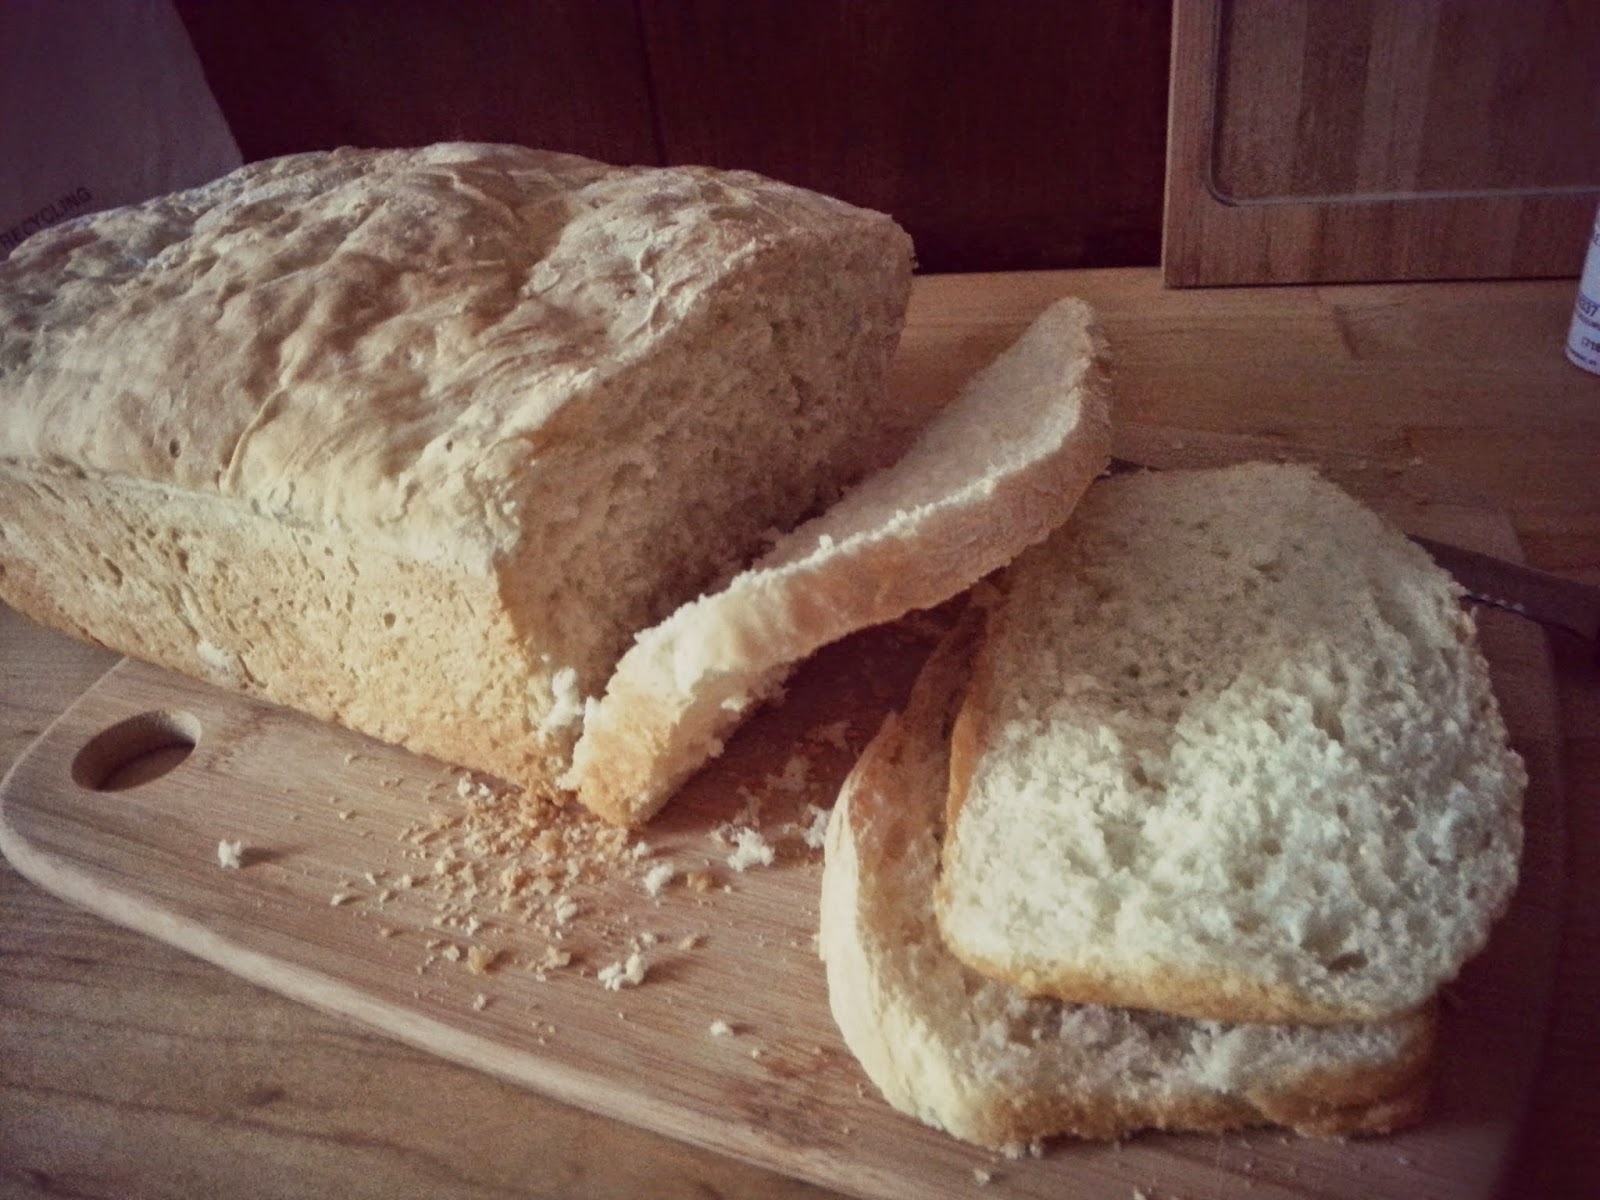 |
| My husband called this the "Original Wonderbread, before they added all the fake stuff'". |
I know, white flour, ucck! But, considering this is my first attempt at homemade bread, I figured I'd give it a go at a general white, Wonder-bread knockoff (which I acheived!) Going forward I'm going to try some other flour and varieties. Looking forward to cinnamon raisin bread for breakfast.
So tell me:
Have you reached a monumental milestone this weekend?
Do you make your own bread (And if you do, any suggestions?)
This looks easy and delish! I've never made my own bread before, but it's something I'll have to try.
ReplyDeleteYou should, it's definitely something you could do!
DeleteOh, it really did come out perfectly! My husband likes to make bread on occasion, but I have never baked with yeast at all yet! I love to make banana and zucchini breads though.
ReplyDeleteI love banana bread, but this was fun! Give it a try, you might love it too!
DeleteThis is one baking adventure I have never taken on! I'm going to give it a try now
ReplyDeleteYou should! I really found it therapeutic, which sounds weird. But try it!
DeleteI have made zucchini bread and cranberry bread! I haven't made "real" bread with yeast yet though!
ReplyDeleteYou should sometime! Despite being easy, people are really impressed when you bring them a loaf. Definitely worth a try :)
Delete